
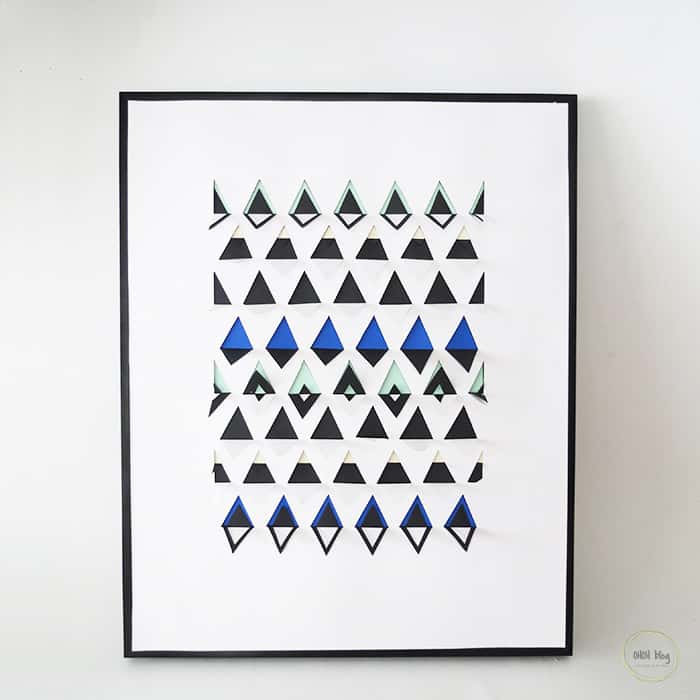
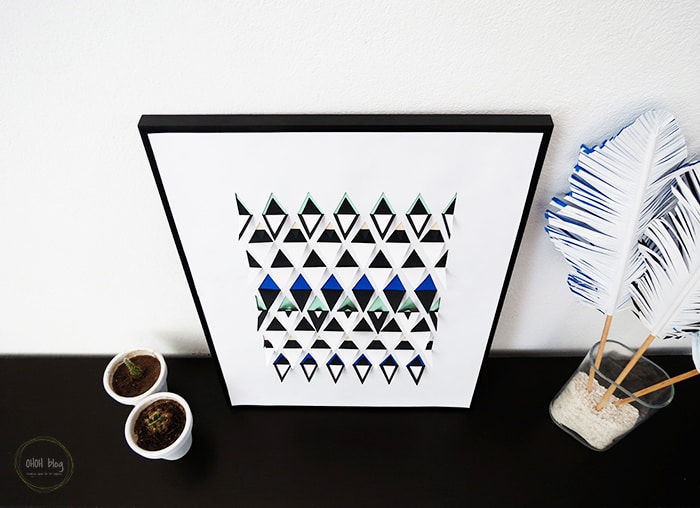
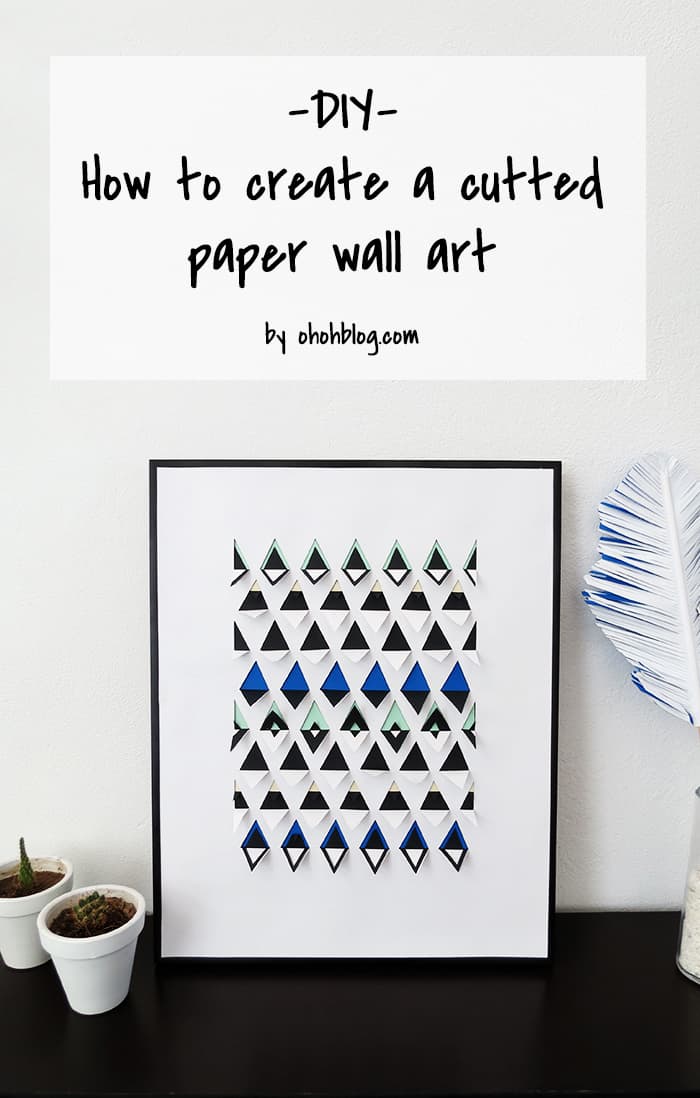
Looking for a pretty decor to hang on your wall? Here is a very cool idea: Create your own cutted paper piece of art. It’s fun to make and cost almost nothing. I was inspirited by this pin from the artist Sarah Louise Matthews.
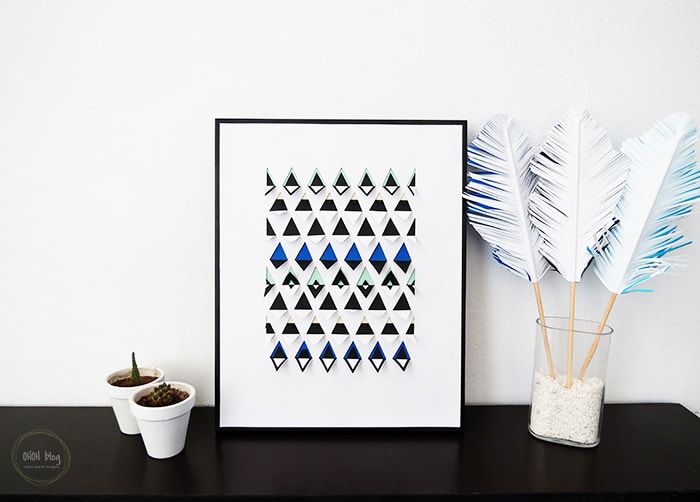
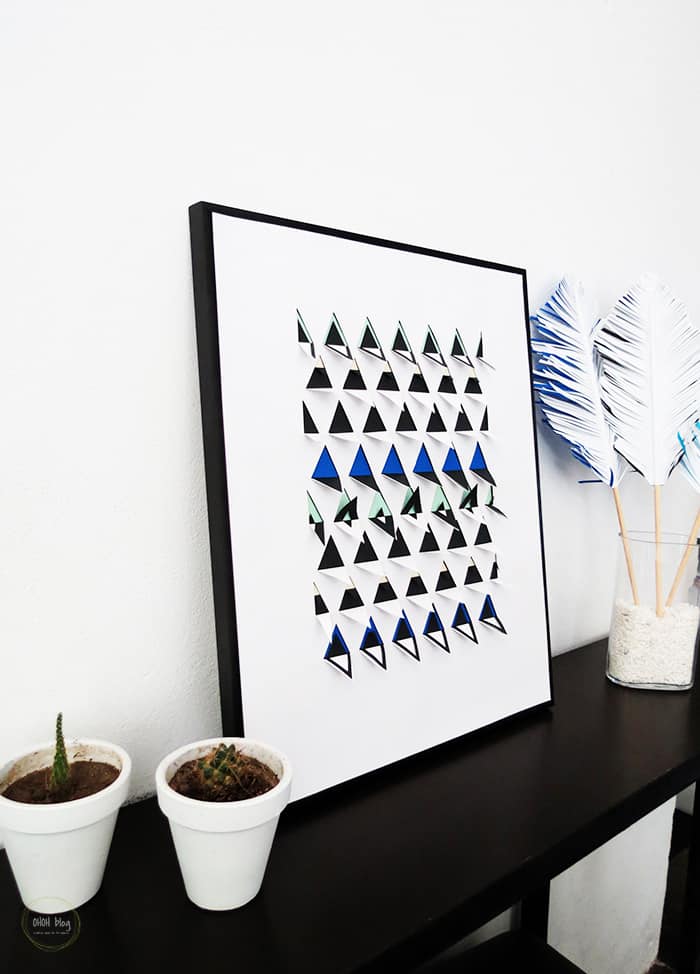
I will hang this wall art in our bedroom. I still have two other identical frames available. I don’t know if I want to make more cutted paper art to create a triptych or if it will looks better filling the frames with different kind of art. Any thought or suggestion about that?
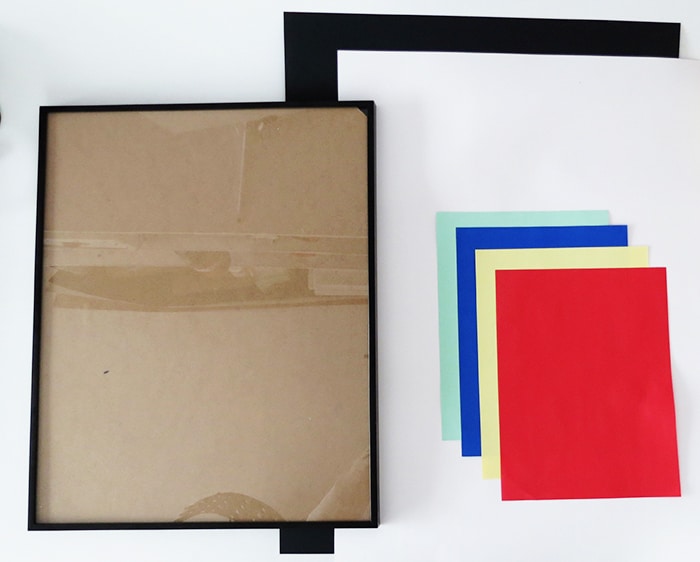
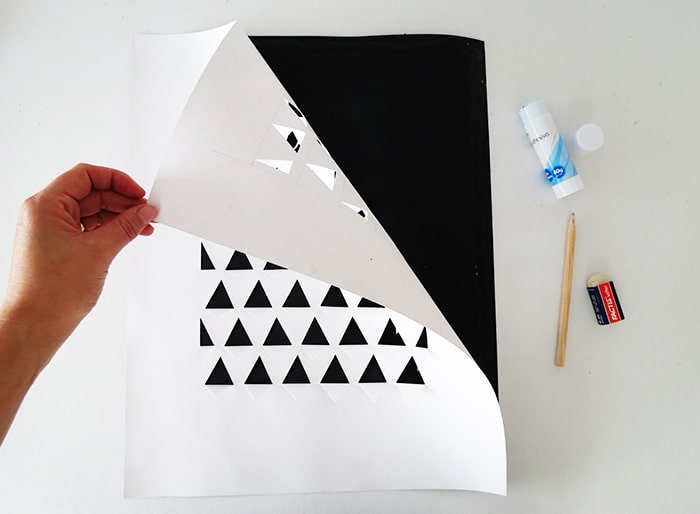
To realize this craft, you will need: a frame, a white and a black sheet of paper at the same dimension of your frame. Some colored sheets, some glue, a cutter, a pencil, an eraser and a ruler.
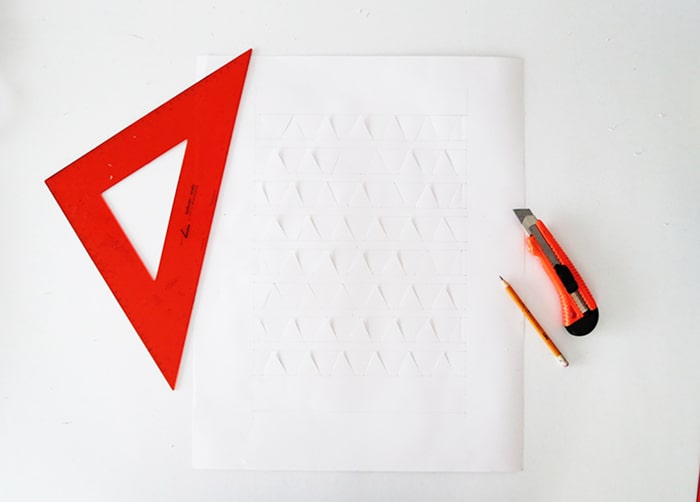
First trace a frame on the white sheet the delimitate the cutting area. Measure and trace the triangles. I start by tracing horizontal lines, then I draw the triangles on it. Try to imagine how the pattern will look once the shape will be cutted and folded. You can work one line of trinagles at the time if it make it easier. The dimension of the triangles are 1 inch for the base and 1 inch high. Remember you can adapt the dimensions, as the number of lines and rows, to fit your frame measures.
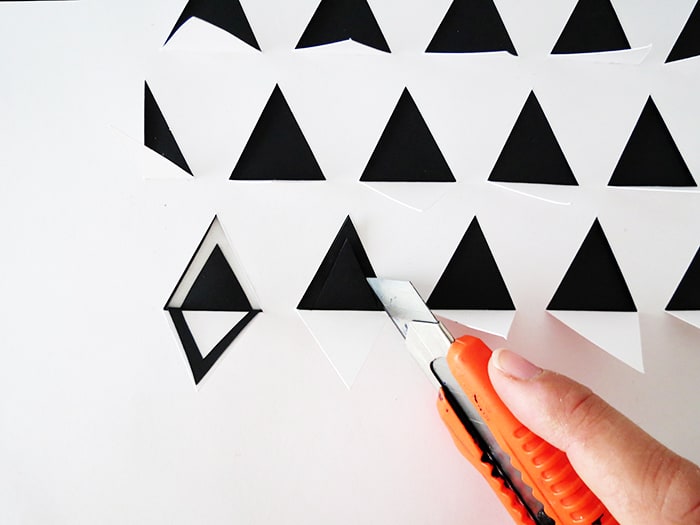
Place a cardboard under your sheet and with the cutter, cut both side of the tip of each triangle.
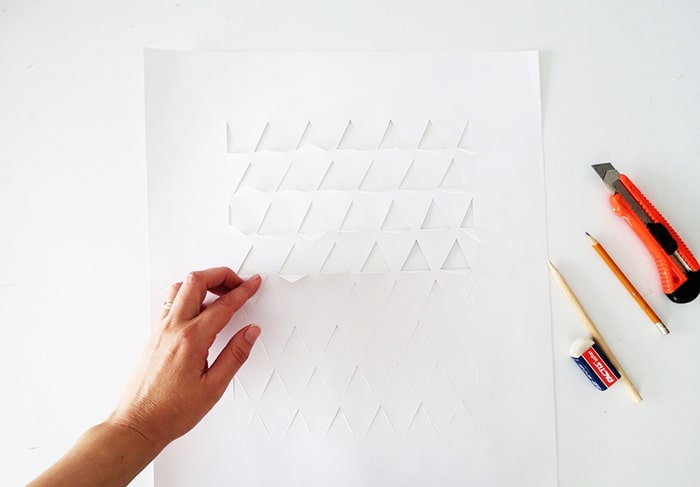
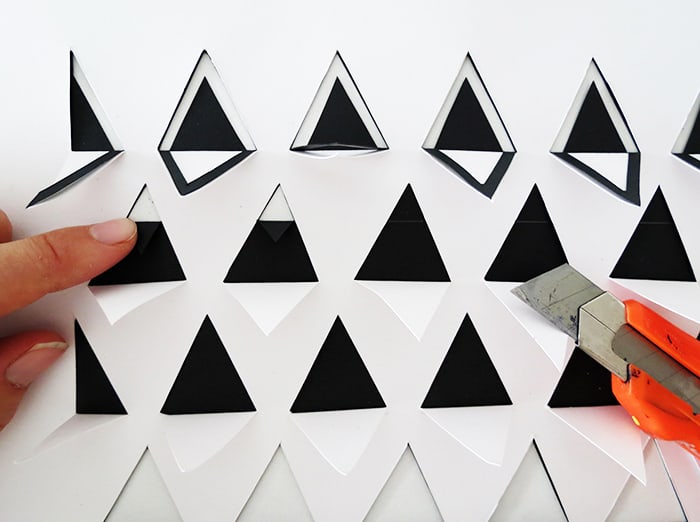
Carefully, erase the pencil marks. Fold each triangle down, don’t hesitate to mark the fold.
Once all shapes are folded, glue the black sheet under. Apply glue on the edges and press the sheets together.
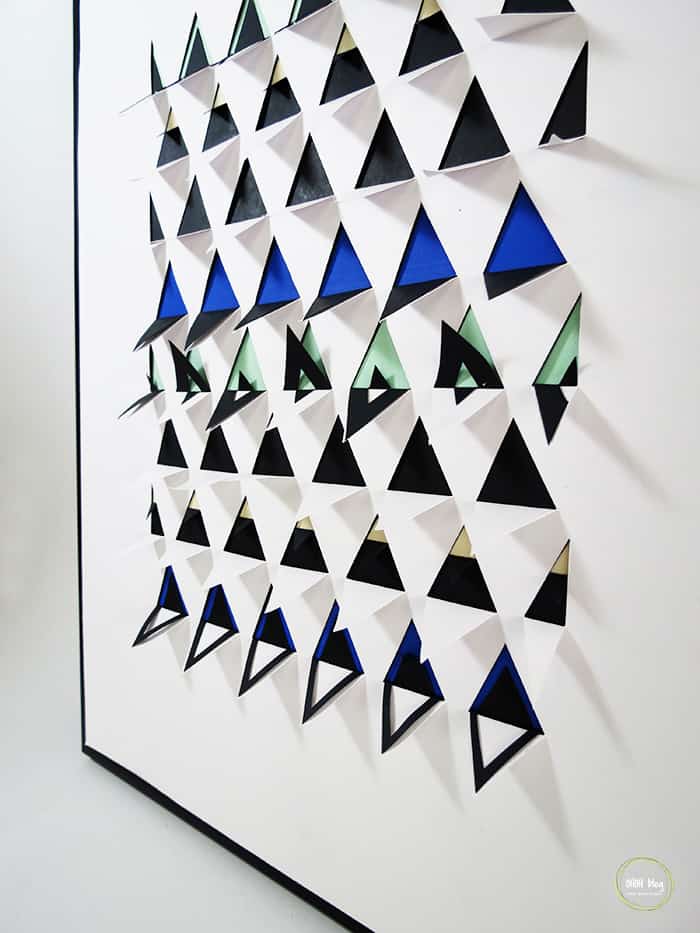
Add some extra cut on the black sheet. You can cut two parallels lines and fold them over to create a diamond shape.
Or you can also cut the triangle tips and fold them over, like a little snowy mountain.
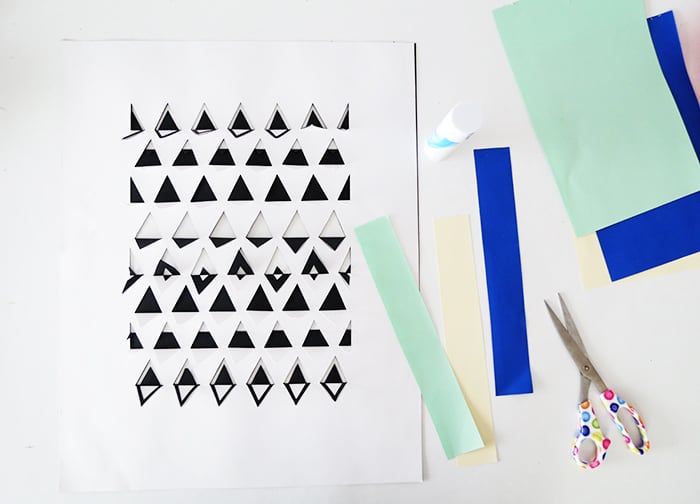
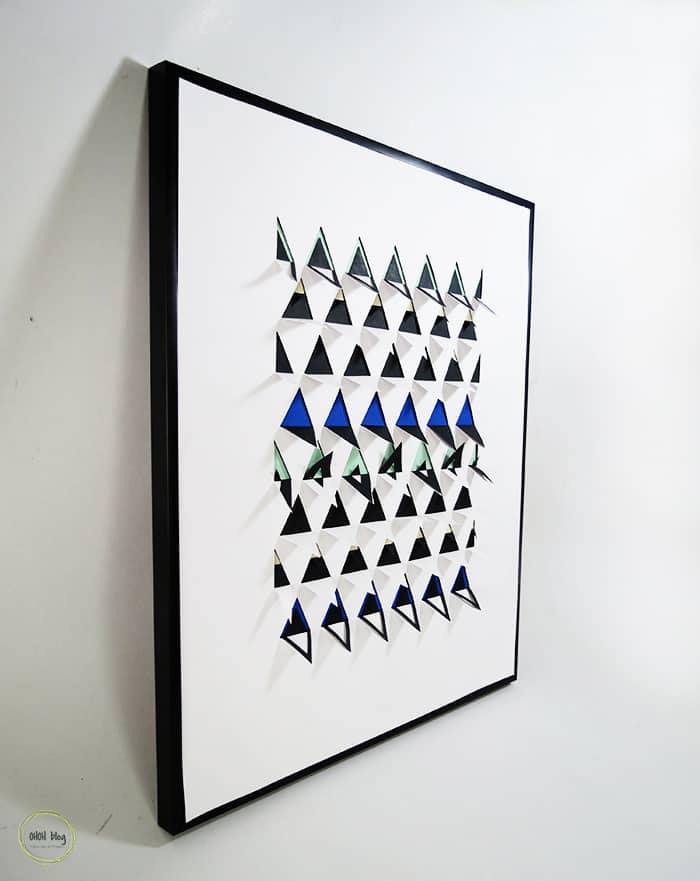
You can stop here and you will have a minimal black and white piece of art. Or you can choose to add a little color…I went for the second option.
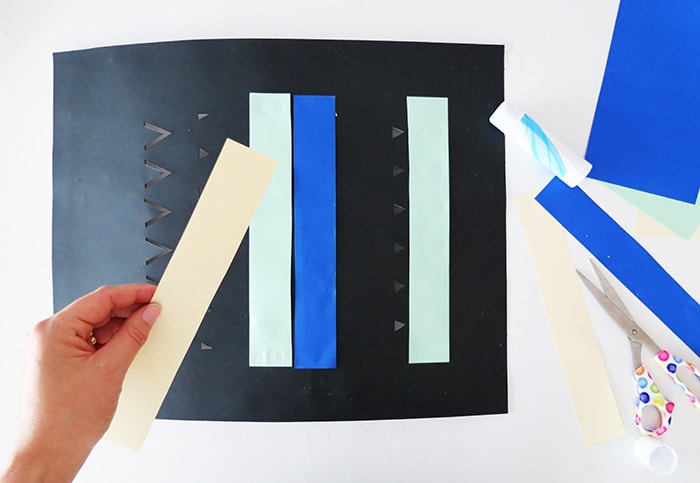
Just cut some strips of colors paper, they must be long and high enough to cover a line of triangles, and glue them on the back of the black sheet. And tadaaaam, went you turn you creation the color will pop through the cutted shapes. Place your work in the frame, without the glass, and hang it in your favorite room. Done, enjoy it!
If you like working with paper and want to try an other cutted paper craft, you can have a look at these leaves.
I like hoe it turns out, what do you think?
The tutorial to create the paper feathers is HERE.
If your like it, please, share and make your friends enjoy this post!
You will find all the tutorials featured in the video on my “Best DIY” page.
Amaryllis
Anonymous
Tuesday 14th of March 2017
Jeu de patience pour un max d'effet ! Joli
Ama Ryllis
Friday 17th of March 2017
Merci <3